效果对比
开启前 / Before apply
开启后 / After apply
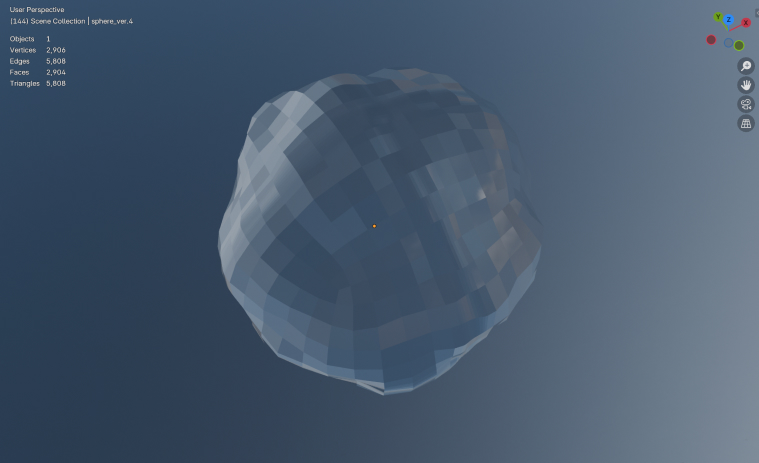
图片中的收益完全来自于对法线的加权计算, 不增加顶点数和三角形数。如果通过平滑细分来实现相同的效果, 三角形面数可能会增加到原来的 16 倍。
原理
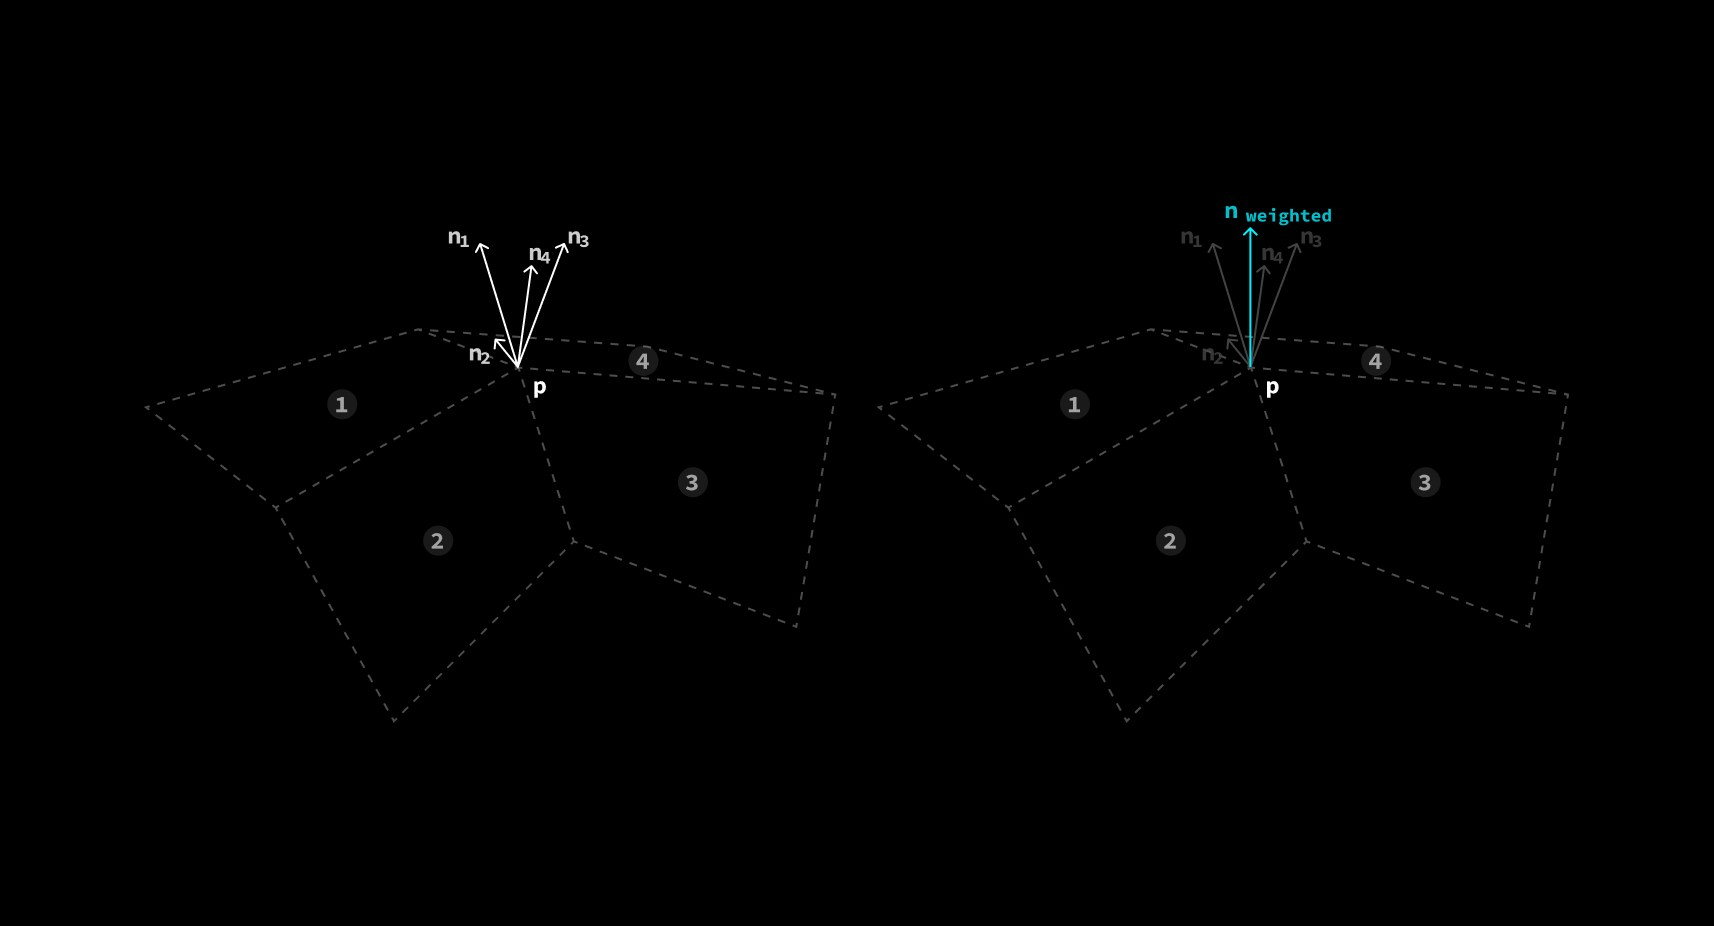
原理其实十分简单。假设有一个顶点 被4个面共享。由于顶点本身没有法线的概念, 顶点处的法线只能由它所 在面的法线来确定。在计算法线时选择不同的面, 会获得4个不同的法线 。
如果单独计算每个面的法线, 并直接将计算结果从 vertex shader 送往 fragment shader 插值, 那么四个面的法线将完全不连续, 出现明显的 sharp edge。这种渲染方式叫做 Flat Shading。
常用的解决方法是在顶点处储存法线, 再通过 GPU 的插值能力计算平面上各个点处的法线, 从而消除 sharp edge。这种 渲染方式叫做 Smooth Shading。
平滑渲染 / Smooth Shading
加权法线 / Weighted Normal
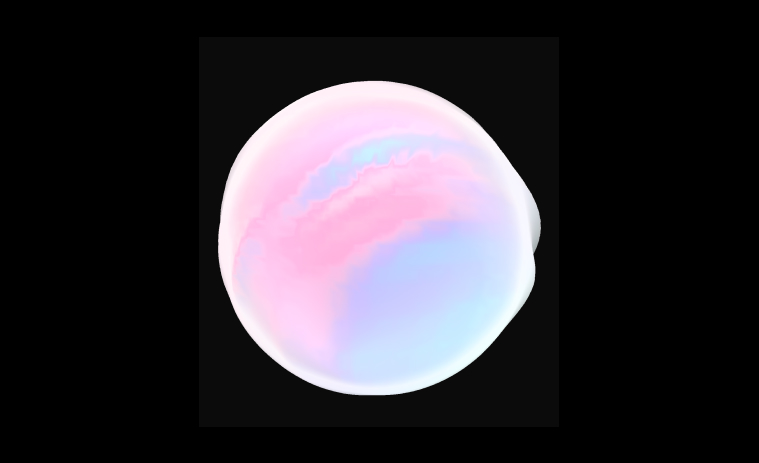
这种方法对面数较高的模型效果很好, 但是对于面数较低, 或者表面形状复杂的模型, 效果就不是很理想了。
源码分析
Blender Weighted Normal Node - Github
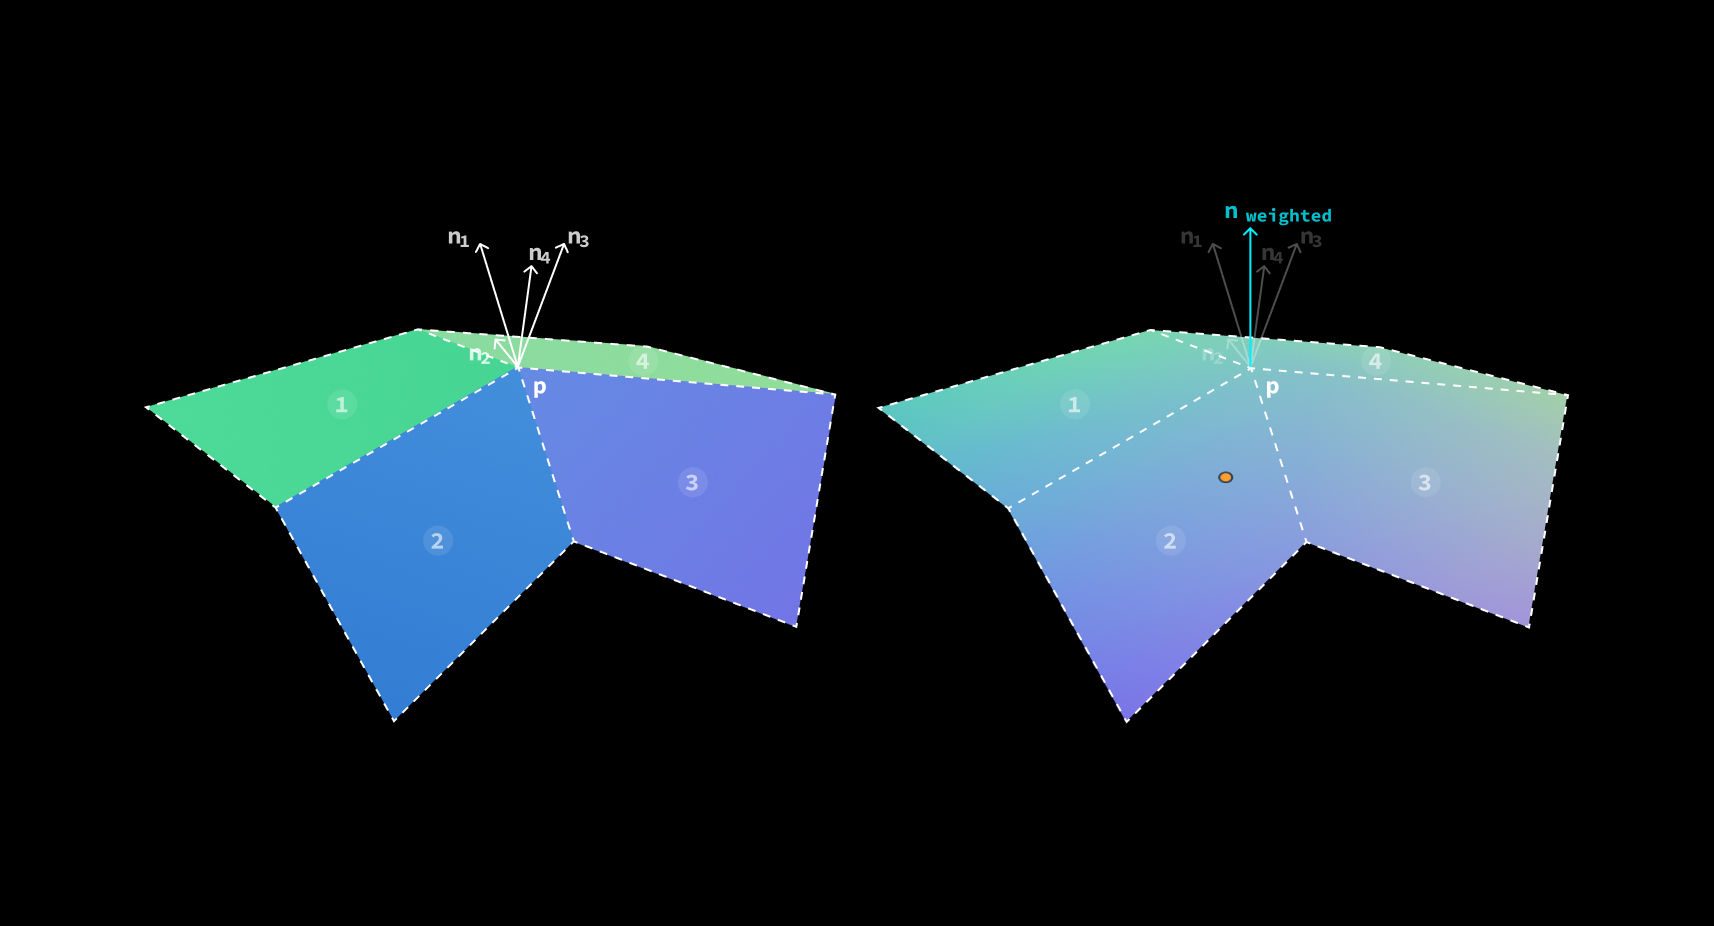
Weighted Normal 就是通过这4个法线的加权平均来保证面转角处的法线过度平滑, 从而在 shading 阶段 获得更加平滑的渲染效果。
Weighted Normal modifier 的核心算法可以分解为以下步骤:
// 1. Initialization
prepare_data()
initialize_buffers()

// 2. Face area calculation
for each face of mesh:
  with different mode,
  face area:
    calculate_weight_by_face_area()
  corner angle:
    calculate_weight_by_corner_angle()
  face area and corner angle:
    calculate_weight_by_face_area_and_corner_angle()

sort_face_by_its_weight()

// 3. Normal aggregation
for each face of sorted faces:
    for each vertex of face:
      // 3.1. aggregate normal to the vertex's weighted normal
      let weight = exponentially_decreasing_weight(vertex.id)
      vertex.normal += vertex.normal * weight

// 4. Normalization
normalize_vertex_normals()

// 5. Cleanup
free_allocated_buffers()